
If there’s one recipe that has saved me during busy weekdays, it’s Turkey Cheddar Lunch Roll Ups. They’re fast, filling, and the perfect solution for those “Mom, what’s for lunch?” moments when you’ve barely had your morning coffee. Think of them as your no-stress, flavorful fix—like a sandwich that decided to get dressed up and roll out in style.
Table of Contents
Why You’ll Love This Turkey Cheddar Lunch Roll Ups Recipe
- Quick and easy: Ready in just 15 minutes.
- Customizable: Swap in your favorite veggies or spreads.
- Kid-approved: Even picky eaters will gobble them up.
- Portable: Perfect for lunchboxes, work meals, or road trips.
Honestly, once you try these, you’ll wonder how you ever lived without them.
What Do Turkey Cheddar Lunch Roll Ups Taste Like?
Imagine the comforting flavor of your favorite turkey and cheddar sandwich, but with a fresh crunch of spinach, peppers, and a creamy layer that ties it all together. They’re savory, slightly tangy (thanks to the cream cheese or hummus), and perfectly balanced. These little roll ups are satisfying without being heavy—like a light hug for your taste buds.
Ingredients for Turkey Cheddar Lunch Roll Ups
Before we dive into assembling these tasty little wraps, let’s talk ingredients. The beauty of Turkey Cheddar Lunch Roll Ups is that you don’t need anything fancy—just a handful of fresh, everyday items that you probably already have in your kitchen. Think of this as your blueprint, but feel free to get creative and make it your own.
- Tortilla wraps (4 large, whole wheat or regular): These form the base of your roll ups. Whole wheat adds extra fiber, while regular flour tortillas keep things soft and classic. If you’re gluten-free, you can swap in your favorite gluten-free wrap or even try large lettuce leaves for a lighter option.
- Deli turkey slices (8): Thinly sliced turkey breast works best here—it’s lean, flavorful, and rolls beautifully without tearing. You can also experiment with smoked turkey for a little extra flavor.
- Cheddar cheese slices (4): Cheddar gives that bold, tangy bite we all know and love. Want to mix it up? Try Colby Jack, provolone, or even pepper jack if you like a little heat.
- Fresh greens (1 cup): Spinach is my go-to, but mixed greens or even romaine will work. They add crunch, color, and a boost of nutrition to balance out the protein and cheese.
- Bell peppers (½ cup, sliced): Choose any color you like—red for sweetness, green for a sharper taste, or yellow for a mild crunch. They brighten up your roll ups and make them look extra appetizing on the plate.
- Cream cheese (¼ cup): This is your “glue” that holds everything together while adding creamy richness. Don’t love cream cheese? Hummus is a fantastic swap that makes the roll ups feel a little more gourmet.
- Salt and pepper: A pinch of each goes a long way in bringing all the flavors together.
- Optional add-ins: Cucumbers, olives, shredded carrots, or any veggie you love. If you’ve got leftovers from dinner, this is the perfect place to use them up.
👉 If you’re looking for another hearty recipe that pairs perfectly with these roll ups, check out my Creamy Roasted Garlic Tomato Soup. A warm bowl of soup next to these fresh, crunchy bites is comfort food at its finest!
The best part about Turkey Cheddar Lunch Roll Ups is their flexibility—you can stick to the basics or mix and match depending on what’s in your fridge. They’re proof that simple ingredients can come together to make something incredibly satisfying.
Instructions: How to Make Turkey Cheddar Lunch Roll Ups
Making Turkey Cheddar Lunch Roll Ups is as easy as pie—but thankfully a lot quicker! Here’s the step-by-step guide to help you create these tasty, wholesome bites that your family (and your stomach) will thank you for.
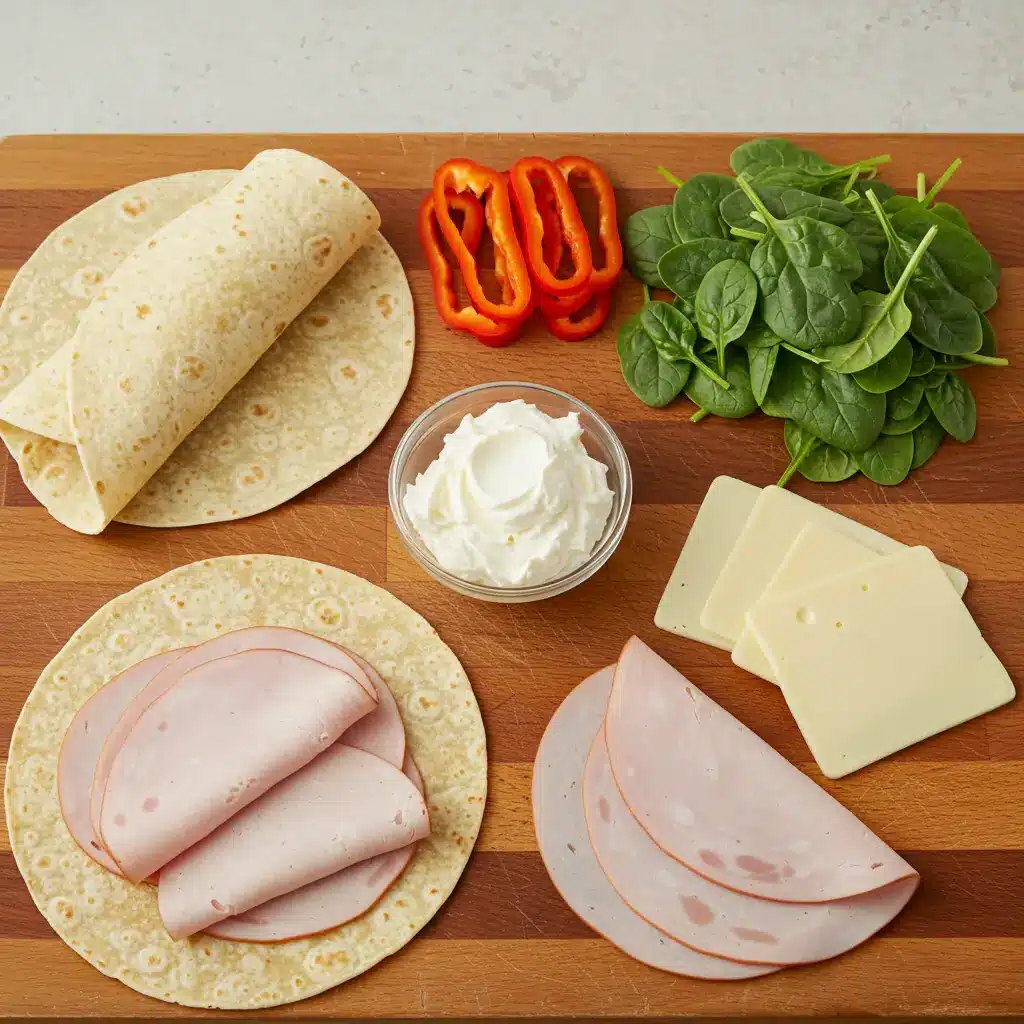
Step 1: Gather Your Ingredients
Lay everything out on a clean counter or cutting board. Having your tortillas, turkey, cheese, veggies, and spread ready to go makes the whole process smooth and stress-free. Think of it as your little mise en place moment (that’s just a fancy way of saying “get your ducks in a row” in kitchen-speak).
Step 2: Spread Your Base
Take one tortilla wrap and spread a thin, even layer of cream cheese across the surface. Not too thick—just enough so it acts like edible glue. If you’re using hummus, try a roasted red pepper variety for an extra flavor kick. The creamy layer is what keeps your Turkey Cheddar Lunch Roll Ups from unraveling.
Step 3: Layer on the Turkey
Place two slices of deli turkey flat across the tortilla. Overlap them slightly to cover as much of the surface as possible. This ensures that every single bite has that tender, savory turkey goodness.
Step 4: Add the Cheddar Cheese
Next comes the cheddar. Place one slice right on top of the turkey. You can cut it in half if you want to spread it around more evenly. Pro tip: If you love melty cheese, you can warm your tortilla for a few seconds in a skillet before rolling—just enough to make the cheddar soft, but not so much that it cracks the wrap.
Step 5: Load Up with Veggies
Scatter a small handful of fresh spinach or mixed greens on top, followed by your colorful bell pepper slices. This step is where you can really personalize your roll ups. Add cucumbers for crunch, olives for briny flavor, or shredded carrots for sweetness. Each veggie adds its own little personality to the roll.
Step 6: Season with Care
Sprinkle a pinch of salt and freshly cracked pepper over your layers. It might seem simple, but trust me, these little seasonings take your Turkey Cheddar Lunch Roll Ups from good to downright addictive.
Step 7: Roll It Up
Starting at one edge, roll the tortilla tightly but gently. Keep the tension even so it holds together without squeezing the fillings out. Imagine you’re rolling a cozy little blanket around all those delicious layers.
Step 8: Slice into Bites
Using a sharp knife, cut the rolled tortilla into bite-sized pieces, about 1–2 inches thick. If you want them to look extra neat, wipe your knife with a damp cloth between cuts. This trick keeps the edges clean and picture-perfect.
Step 9: Serve and Enjoy
Arrange your slices on a platter and serve them immediately, or store them in the fridge for later. They’re perfect for lunchboxes, afternoon snacks, or even as a light dinner.
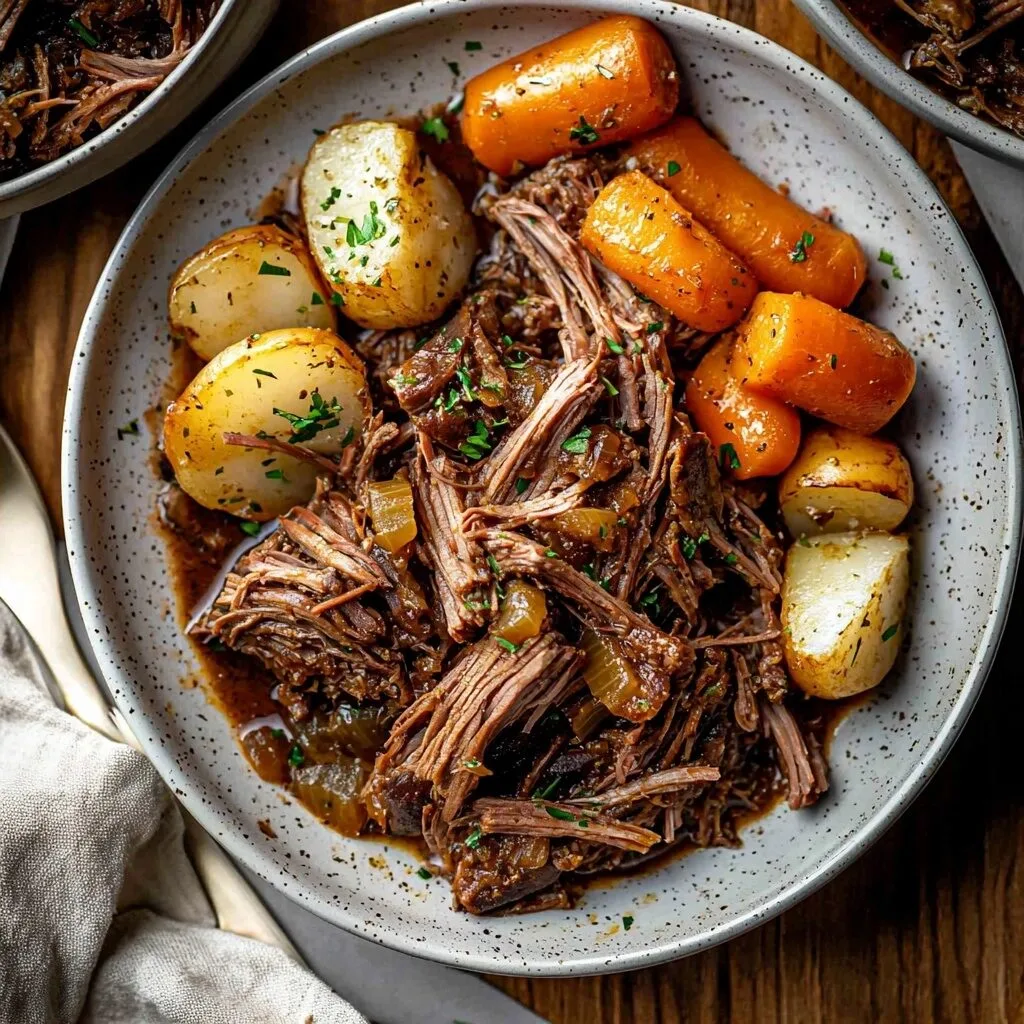
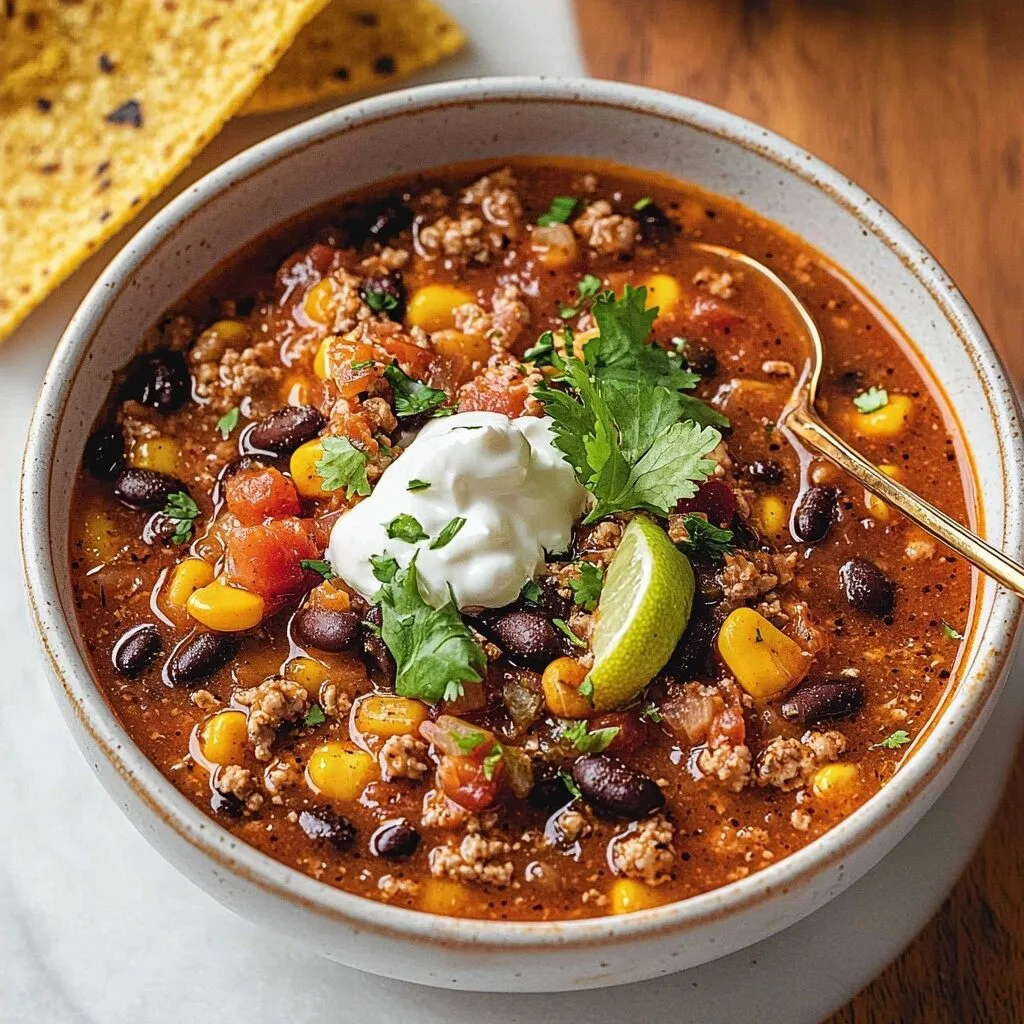
👉 Pair these roll ups with something warm and cozy like my Slow Cooker Turkey Chili for a meal that’s both hearty and refreshing. The contrast of hot chili and cool, fresh roll ups is pure comfort food magic.
Step 10: Repeat
Now that you’ve mastered one, repeat the process with the remaining tortillas until all your ingredients are used up. And just like that—you’ve created a batch of flavorful, protein-packed Turkey Cheddar Lunch Roll Ups in under 20 minutes.
Tips and Tricks for Perfect Turkey Cheddar Lunch Roll Ups
- Use fresh tortillas to avoid cracking when rolling.
- Don’t overstuff—tempting, I know, but it makes slicing messy.
- Switch it up: Try whole-grain wraps, flavored tortillas, or even lettuce wraps.
- Make ahead: Assemble in the morning, slice just before serving to keep them neat.
- Kid hack: Slice extra thin for little hands, and call them “turkey sushi”—my kids love this trick.
Storage Tips
- Fridge: Keep in an airtight container for up to 2 days.
- Lunchbox tip: Wrap in parchment or foil to prevent sogginess.
- Freezer: Not recommended—these are best fresh.
FAQs
Can I make Turkey Cheddar Lunch Roll Ups the night before?
Yes! Just store them whole, then slice the next day for best presentation.
What’s the best spread to use?
Cream cheese is classic, but hummus gives a fun Mediterranean twist.
Can I make these low-carb?
Absolutely—just use large lettuce leaves instead of tortillas.
Conclusion
Turkey Cheddar Lunch Roll Ups are the ultimate answer to busy days, picky eaters, and anyone craving a quick but tasty meal. They’re simple, wholesome, and endlessly customizable. So the next time you’re staring at your fridge wondering what on earth to make, remember this recipe—it’s fast, fun, and totally foolproof.
Visit our Pinterest for regular slow cooker recipe updates, or join our Facebook discussions where cooking fans exchange their favorite hearty meal ideas.
Print
Turkey Cheddar Lunch Roll Ups: The Ultimate Kid-Approved Meal
- Total Time: 15 minutes
- Yield: 4 servings 1x
Description
Turkey Cheddar Lunch Roll Ups are quick, nutritious wraps made with deli turkey, cheddar cheese, crisp veggies, and a creamy spread, perfect for lunchboxes or easy snacks.
Ingredients
- 4 large tortilla wraps (whole wheat or regular)
- 8 slices deli turkey
- 4 slices cheddar cheese
- 1 cup spinach or mixed greens
- 1/2 cup sliced bell peppers (any color)
- 1/4 cup cream cheese (or hummus)
- Salt and pepper to taste
- Optional: sliced cucumbers, olives, or other veggies
Instructions
1. Gather all ingredients on a clean cutting board or countertop.
2. Spread a thin layer of cream cheese (or hummus) evenly over one tortilla wrap.
3. Place 2 slices of turkey on top, covering the surface as much as possible.
4. Lay 1 slice of cheddar cheese over the turkey.
5. Scatter a handful of spinach or mixed greens and sliced bell peppers on top.
6. Season with a pinch of salt and pepper.
7. Starting from one end, carefully roll the tortilla tightly, keeping the ingredients inside.
8. Slice the roll into bite-sized pieces, about 1 to 2 inches thick.
9. Arrange slices on a platter and serve immediately, or refrigerate in an airtight container.
10. Repeat the process with the remaining tortilla wraps and ingredients.
Notes
These roll ups are customizable with your favorite veggies such as cucumbers, olives, or shredded carrots.
For added flavor, try flavored cream cheese or hummus.
Perfect for lunchboxes, snacks, or party platters.
- Prep Time: 15 minutes
- Cook Time: 0 minutes
- Category: Snack
- Method: No-Cook, Assembling
- Cuisine: American
Nutrition
- Serving Size: 1 roll up
- Calories: 320
- Sugar: 3g
- Sodium: 720mg
- Fat: 12g
- Saturated Fat: 5g
- Unsaturated Fat: 6g
- Trans Fat: 0g
- Carbohydrates: 28g
- Fiber: 3g
- Protein: 26g
- Cholesterol: 55mg

")