
How to roast oats in the microwave is a quick and easy way to enhance their flavor and texture without using an oven or stovetop. Roasted oats have a rich, nutty taste and a satisfying crunch, making them perfect for oatmeal, granola, smoothies, or baking.
In this guide, you’ll learn step-by-step how to roast oats in the microwave for the best results. We’ll cover the right oats to use, the best microwave settings, and expert tips to avoid burning or uneven roasting. Plus, you’ll discover creative ways to use roasted oats in your favorite recipes.
By the end of this article, you’ll know exactly how to roast oats in the microwave for a perfect golden-brown finish every time! Let’s get started.
Table of Contents
Introduction to Roasting Oats in the Microwave
Why Roast Oats?
You might be wondering, why bother roasting oats in the first place? Well, roasting enhances the natural sweetness and nutty depth of oats, making them taste richer and more flavorful. This simple step can take your breakfast or baked goods from ordinary to extraordinary.
Here are some key reasons to roast oats:
Enhanced Flavor – Roasted oats have a warm, toasty taste that plain oats simply don’t.
Improved Texture – They become crispier, making them perfect for granola, toppings, or snacking.
Better Absorption – Roasting slightly reduces moisture, helping oats soak up liquid more efficiently when cooked.
Removes Raw Taste – Some people find raw oats bland or grassy—roasting fixes that!
Benefits of Roasting Oats in the Microwave
You could toast oats in an oven or on a stovetop, but using a microwave is the easiest and fastest method.
Time-Saving – Microwaving takes just 2-3 minutes, while the oven takes 15+ minutes.
No Extra Oil Needed – Unlike stovetop roasting, you don’t need butter or oil.
Even Cooking – When stirred properly, microwaved oats roast evenly without scorching.
Energy-Efficient – The microwave uses less energy than the oven, making it an eco-friendly choice.
Is Roasting Oats in the Microwave Better Than Other Methods?
Let’s compare:
| Method | Time Required | Ease of Use | Risk of Burning | Best For |
|---|---|---|---|---|
| Microwave | 2-3 minutes | ⭐⭐⭐⭐⭐ (Easy) | Low | Small batches, quick prep |
| Oven | 10-15 minutes | ⭐⭐⭐ (Medium) | Medium | Large batches, precise roasting |
| Stovetop | 5-10 minutes | ⭐⭐⭐ (Medium) | High | Quick cooking, hands-on control |
If you need quick roasted oats without hassle, the microwave is the clear winner!
What You Need to Roast Oats in the Microwave
Essential Ingredients and Tools
Before diving into how to roast oats in the microwave, let’s cover what you’ll need:
Old-fashioned rolled oats – The best option for roasting due to their structure and texture.
Microwave-safe plate or bowl – Ensures even heat distribution.
Wooden spoon or spatula – Helps stir the oats to avoid burning.
Optional add-ins – Cinnamon, nutmeg, honey, or a pinch of salt for extra flavor.
Best Types of Oats for Roasting
Not all oats roast the same way! Here’s a quick guide to which types work best:
| Type of Oats | Best for Roasting? | Notes |
|---|---|---|
| Old-Fashioned Rolled Oats | ⭐⭐⭐⭐⭐ (Best) | Roast evenly and get crunchy. |
| Quick Oats | ⭐⭐⭐ (Okay) | Roast faster but can burn easily. |
| Steel-Cut Oats | ⭐⭐ (Difficult) | Take longer and require pre-cooking. |
| Instant Oats | ⭐ (Not Ideal) | Too fine; may burn too quickly. |
For a quicker option, consider 1-minute microwave baked oats, which can be made with roasted oats for added flavor!
Precautions Before Roasting
Use a flat, even layer – Piling oats on top of each other leads to uneven roasting.
Stir frequently – Oats can scorch fast, so stir every 30 seconds.
Adjust microwave power – If your microwave is high-wattage (1000W+), reduce the power level.
Step-by-Step Guide to Roasting Oats in the Microwave
Preparing the Oats: Measuring and Spreading Evenly
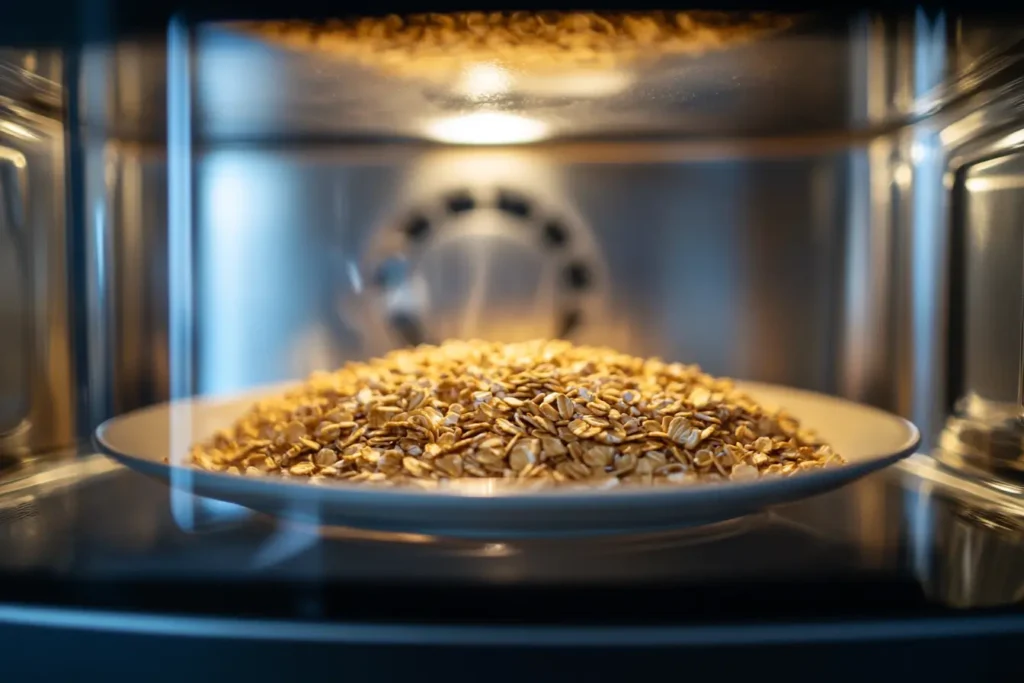
Start by measuring ½ to 1 cup of rolled oats and spreading them in a thin layer on a microwave-safe plate. This helps them roast evenly.
Step 1: Setting the Right Microwave Power Level
If your microwave is 800W or lower, use full power.
If your microwave is 1000W or higher, set it to 70-80% power to avoid burning.
Step 2: Initial Heating and Stirring
Microwave on HIGH for 30 seconds.
Stir well to prevent hot spots and uneven roasting.
Microwave again for 30 seconds, then stir again.
Step 3: Repeating the Process for Even Roasting
Keep microwaving in 30-second intervals, stirring in between, for about 2 to 3 minutes total.
Pro Tip: If you smell a burnt aroma, immediately stop and stir to prevent overcooking.
Step 4: Checking for Doneness – Color, Texture, and Aroma
The oats should turn golden brown and smell nutty.
They should feel crispy, not chewy when cooled.
If they still feel soft, microwave for another 15-30 seconds.
Step 5: Cooling and Storing the Roasted Oats
After microwaving, let the oats cool for 5 minutes to crisp up.
For storage:
- Use an airtight jar to keep them fresh for up to 2 weeks.
- Store in the freezer for longer shelf life.
Bonus Tip: You can use roasted oats in recipes like How to make good 1-minute oats for extra crunch!
Tips to Enhance the Flavor of Roasted Oats
Adding Spices and Sweeteners Before Roasting
If you want to elevate the taste of your microwave-roasted oats, consider adding spices and sweeteners before heating.
Cinnamon & Nutmeg – These warming spices bring out the natural sweetness of oats.
Honey & Maple Syrup – For a caramelized effect, drizzle a tiny bit before roasting.
Vanilla Extract – A splash adds a subtle yet delicious aroma.
To prevent burning, mix any liquid ingredients with the oats after the first heating cycle.
How to Achieve a Crunchy Texture Without Burning
One of the most common issues when learning how to roast oats in the microwave is overcooking them. Here’s how to avoid that:
Use 30-second intervals – This prevents the oats from getting too dark too quickly.
Stir frequently – This ensures even roasting and prevents hot spots.
Spread the oats evenly – A thin layer roasts more consistently than a piled-up batch.
Can You Add Oil or Butter? Pros and Cons
Some people prefer adding a small amount of oil or butter for a richer taste. But should you?
Pros:
- Helps coat the oats, making them extra crispy.
- Enhances flavor, especially with spices.
Cons:
- Can make oats greasy if overused.
- May reduce shelf life when stored.
If you want to try it, use ½ teaspoon of coconut oil or melted butter per cup of oats.
Experimenting with Flavored Oats
Want to create gourmet-style roasted oats? Try these mix-ins:
Cocoa Powder – A hint of chocolate pairs perfectly with roasted oats.
Shredded Coconut – Adds sweetness and crunch.
Chopped Nuts – Almonds or pecans provide a toasted, nutty bite.
Pro Tip: Mix flavors after roasting to avoid burning delicate ingredients!
For a quick way to enjoy your roasted oats, try them in this 1-minute microwave baked oats recipe.
How to Use Roasted Oats in Your Recipes
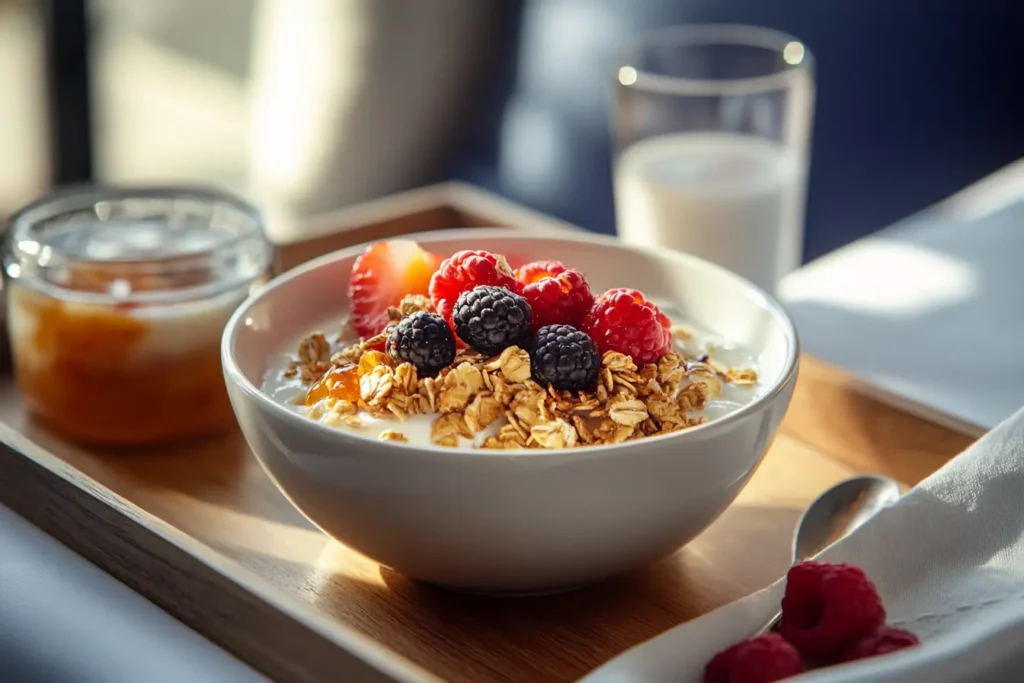
Using Roasted Oats for Breakfast – Oatmeal, Yogurt Toppings, and More
Once you’ve mastered how to roast oats in the microwave, you’ll want to use them everywhere!
Stir into oatmeal – Adds texture to your morning bowl.
Sprinkle over yogurt – A crunchy contrast to creamy yogurt.
Blend into smoothies – Gives a thicker texture and nutty taste.
For a quick breakfast, check out How to make good 1-minute oats? and substitute plain oats with roasted ones!
Baking with Roasted Oats – Cookies, Muffins, and Granola Bars
Roasted oats work wonders in baked goods:
Cookies – Add to chocolate chip or peanut butter cookies for extra crunch.
Muffins – Replace some flour with roasted oat flour for a hearty texture.
Granola bars – Mix with nuts, dried fruit, and honey for homemade bars.
Want your muffins to be extra moist? Check out How can I make my muffins more moist?.
Roasted Oats in Savory Dishes – Soups and Stir-Fries
Surprisingly, roasted oats aren’t just for sweet dishes! Try them in:
Soups – Stir into pureed soups for a rich, nutty taste.
Salads – Use instead of croutons for crunch.
Stir-fries – Sprinkle on top for texture.
Making a Homemade Oat Flour from Roasted Oats
If you want an extra nutritious twist in your baking, grind your roasted oats into oat flour!
Step 1: Cool the roasted oats completely.
Step 2: Blend in a food processor until fine.
Step 3: Store in an airtight container for up to 3 months.
Common Mistakes and Troubleshooting
Roasting oats in the microwave is quick and easy, but a few common mistakes can lead to burnt, uneven, or soggy oats. Let’s go over the most frequent issues and how to fix them.
Why Did My Oats Burn? Adjusting the Time and Temperature
Burnt oats? That’s a sure sign that the heat was too high or they were microwaved for too long.
How to prevent burning:
- Lower the microwave power to 70-80% if using a high-wattage microwave.
- Roast in short 30-second bursts, stirring in between to prevent hot spots.
- Spread the oats evenly in a thin layer on a microwave-safe plate.
If your oats start smelling burnt before they turn golden brown, stop microwaving immediately and stir well.
Oats Not Crispy Enough? How to Fix It
If your roasted oats feel soft instead of crunchy, don’t worry—it’s an easy fix!
How to make them crispier:
- Extend the roasting time by 15-30 seconds, checking frequently.
- Let them cool completely before storing. Oats continue crisping up as they cool.
- Ensure the oats aren’t piled too high, as overcrowding traps moisture.
Why Are My Roasted Oats Sticking Together?
Sticky oats usually happen when moisture builds up during roasting.
How to avoid clumping:
- Stir the oats every 30 seconds to break up clusters.
- If adding honey or syrup, mix it after roasting, not before.
- Roast in small batches to allow air circulation.
How to Prevent Uneven Roasting?
Uneven color and texture are signs that some parts of the oats are cooking faster than others.
How to ensure even roasting:
- Use a microwave-safe plate, not a bowl, for even heat distribution.
- Stir frequently to move oats around.
- Avoid using instant oats, as they tend to overcook faster.
By following these simple fixes, you’ll get perfect, golden-brown roasted oats every time!
FAQs
How to Make Good 1-Minute Oats?
If you’re short on time, you can use roasted oats to make quick and delicious oatmeal in just a minute!
Steps for creamy, flavorful 1-minute oats:
- Combine ½ cup roasted oats with ¾ cup milk or water in a microwave-safe bowl.
- Microwave on high for 1 minute, stirring halfway.
- Add your favorite toppings like fruit, nuts, or a drizzle of honey.
How Long to Reheat Baked Oats?
If you’ve used roasted oats in baked recipes like granola bars or muffins, reheating them correctly is key to maintaining texture.
Best methods to reheat baked oats:
- Microwave – Heat on medium power for 30-60 seconds to avoid drying them out.
- Oven – Warm at 300°F (150°C) for 5-10 minutes to restore crispiness.
- Air fryer – Use at 300°F (150°C) for 3-5 minutes for a crispy edge.
How to Roast Oats in the Microwave? (Step-by-Step)
Need a quick refresher? Here’s the fastest way to roast oats in the microwave:
Step 1: Spread ½ to 1 cup rolled oats evenly on a microwave-safe plate.
Step 2: Microwave on high for 30 seconds, then stir.
Step 3: Repeat 2-3 times until oats are golden brown and smell toasty.
Step 4: Let them cool completely before storing.
This method ensures crispy, flavorful roasted oats in under 3 minutes!
Why Are My Baked Oats Soggy?
If your baked oats turn out soggy, it’s usually due to too much moisture.
How to fix soggy baked oats:
- Reduce the amount of milk or water in the recipe.
- Bake at a higher temperature (350°F/175°C) to remove excess moisture.
- Let them cool fully before cutting—hot oats will seem mushy but firm up as they cool.
By adjusting these factors, you’ll get perfectly baked oats every time!
Conclusion
Roasting oats in the microwave is one of the easiest ways to enhance their flavor, texture, and versatility. In just a few minutes, you can transform plain oats into a golden, crunchy ingredient that can be used in everything from oatmeal to baked goods and even savory dishes.
Key Takeaways for Perfectly Roasted Oats
Use rolled oats for the best texture—quick oats roast too fast, and steel-cut oats take too long.
Microwave in short intervals (30 seconds), stirring in between to ensure even roasting.
Adjust the power level if using a high-wattage microwave to prevent burning.
Let roasted oats cool completely before storing to keep them crispy.
Experiment with flavors like cinnamon, cocoa powder, or a drizzle of honey for variety.
Best Microwave Settings and Timing Recap
To achieve perfectly roasted oats:
- 800W microwave – Roast on full power for about 2.5 to 3 minutes.
- 1000W+ microwave – Reduce power to 70-80% and roast for about 2 minutes.
- Stir every 30 seconds to prevent scorching and ensure even roasting.
Encouragement to Experiment with Flavors and Uses
Now that you know how to roast oats in the microwave, why not get creative? Use them as a crunchy topping for 1-minute microwave baked oats, blend them into smoothies, or even mix them into homemade granola bars. The possibilities are endless!
By following these simple steps and troubleshooting tips, you’ll never have to eat bland oats again. Happy roasting!
Dernière mise à jour : 07 February 2025